Pie. It’s what’s for breakfast. And maybe dinner, too. Why? Because remote learning makes me want to eat my feelings. I mean, it does have fruit!
This is a lighting test and opportunity for me to do more of my own prop and food styling. So, how about a natural light food tutorial?
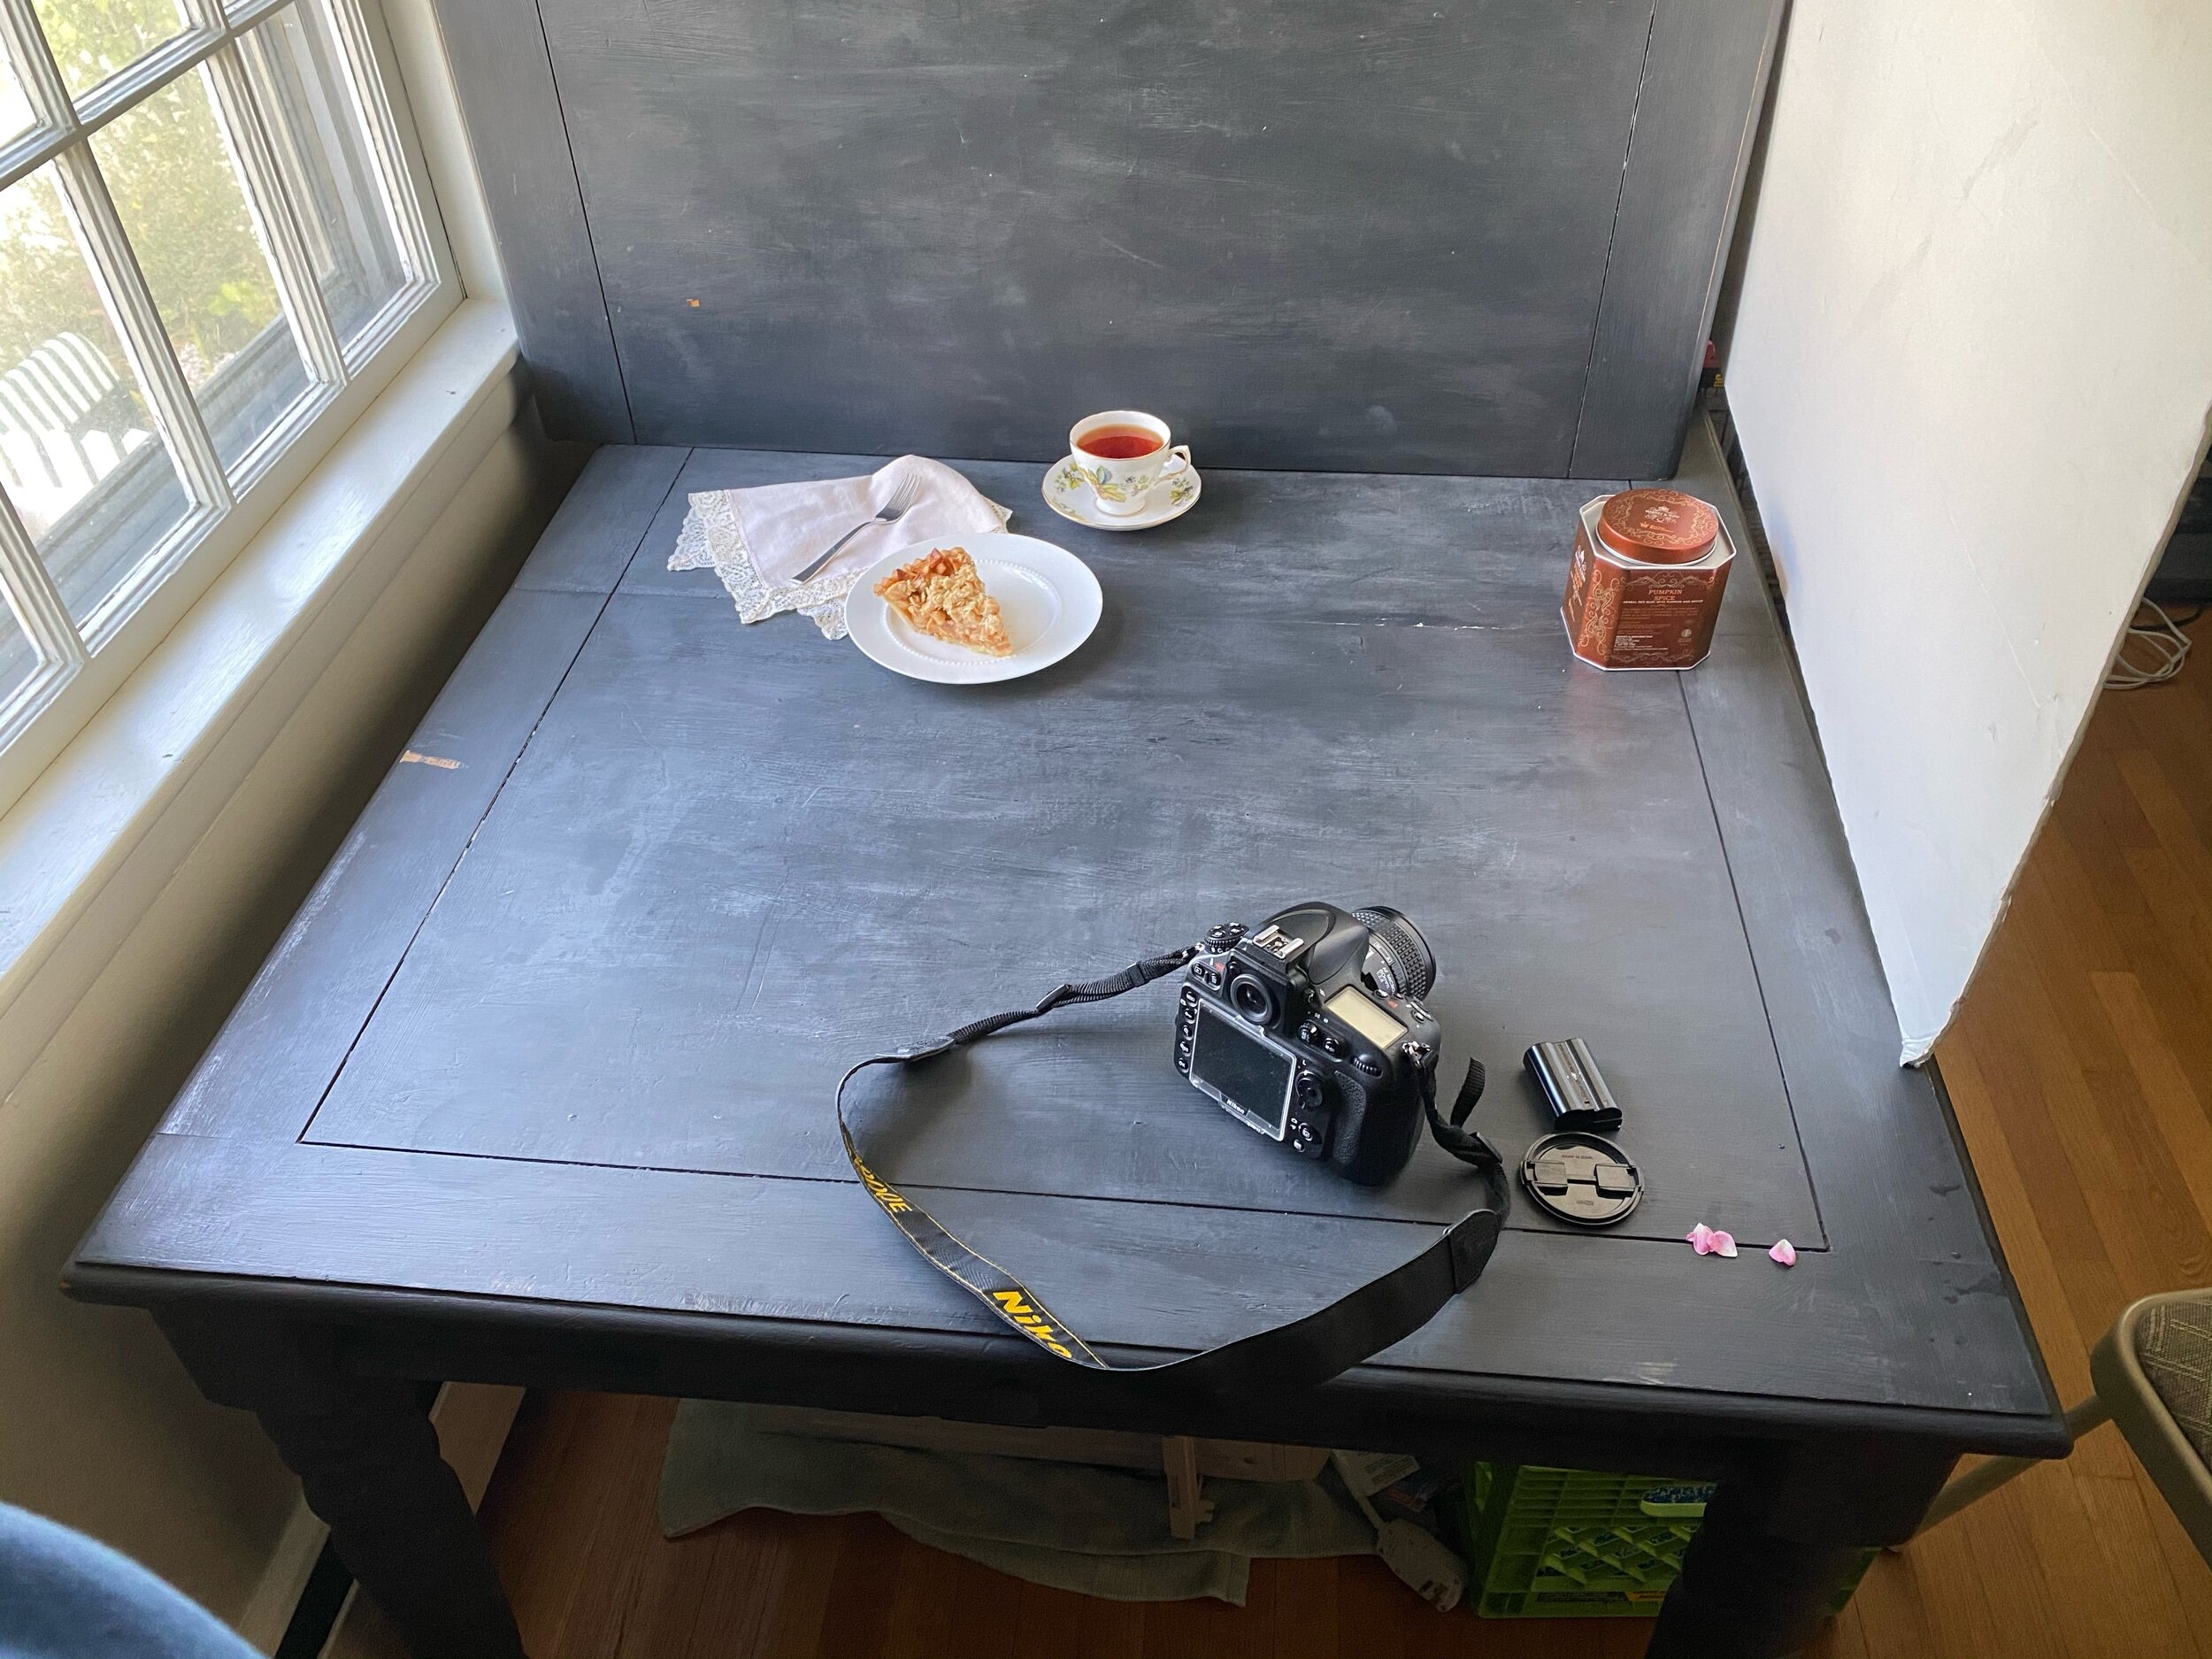
Let me explain the best way I know how, with photos. To start, I suggest you set up the surface and background of your choice next to a window. Have your food and props ready to go. Take a test shot to check your lighting and then arrange the site to get a. I’ve composition. For this look, you’ll want to choose a window that is getting indirect sunlight, or place your surface just next to where the bright spot of sunlight is hitting. You want a well lit area but not the harsh lighting of a direct beam of sunlight.
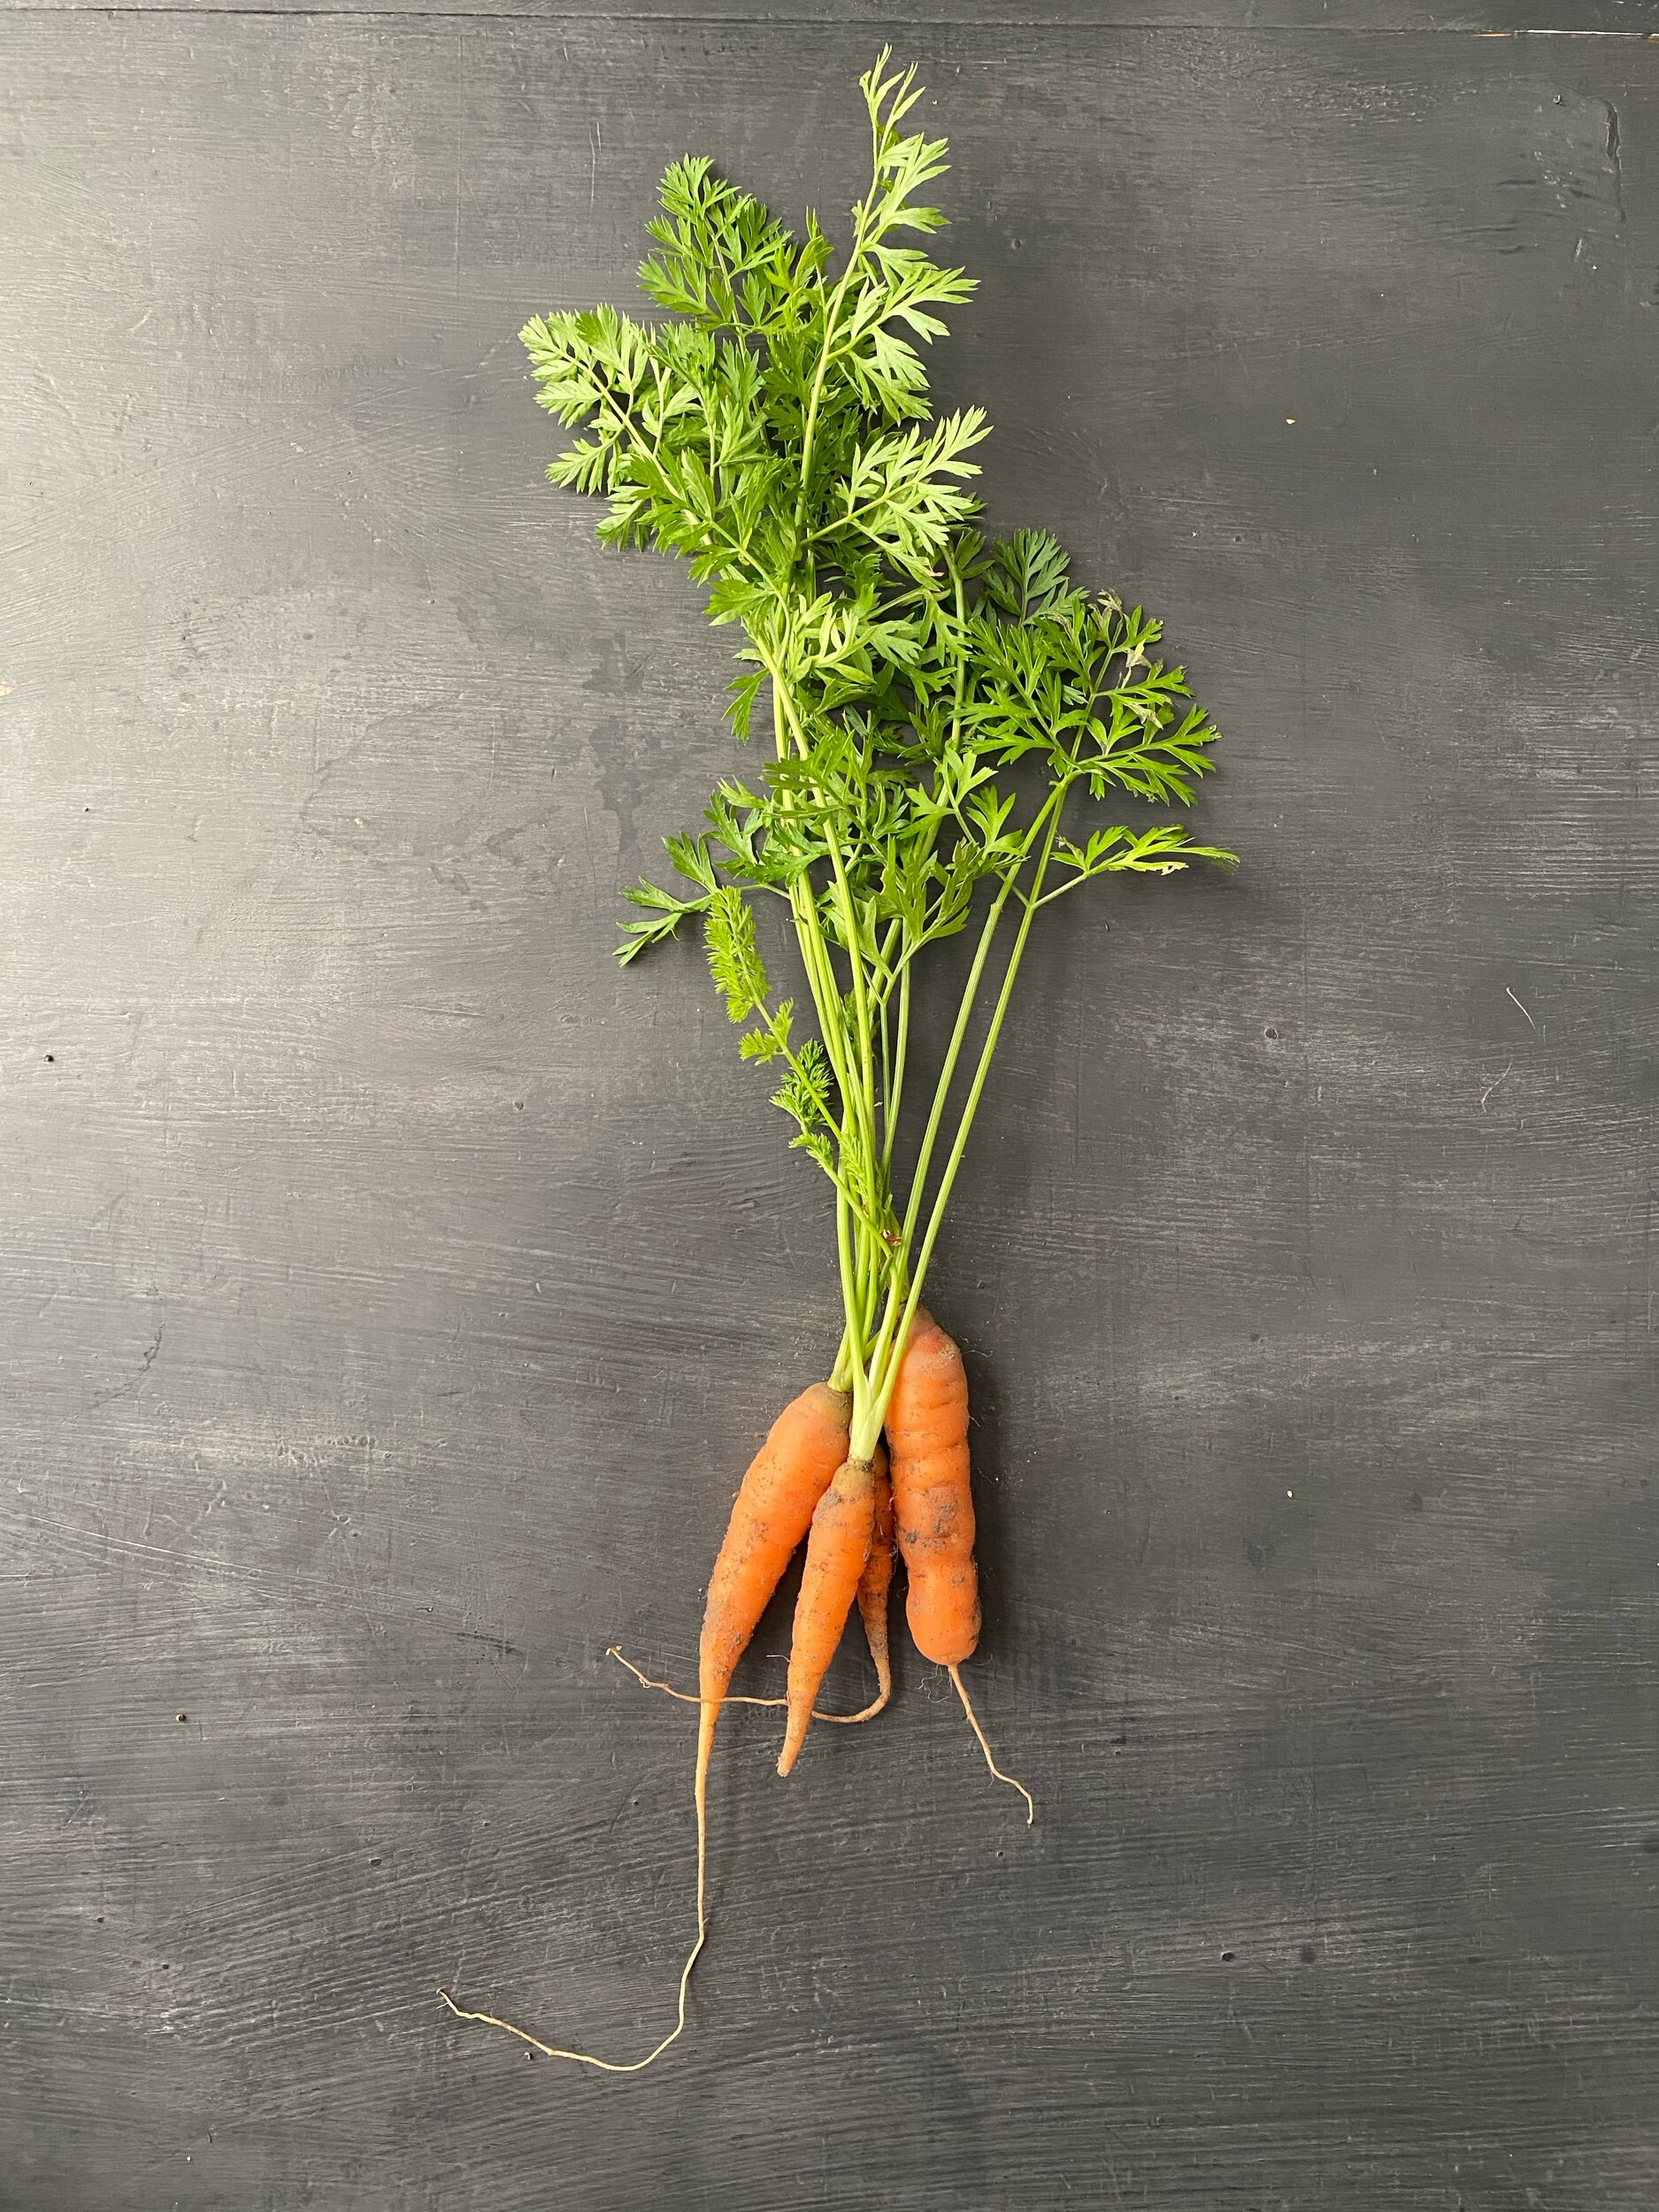
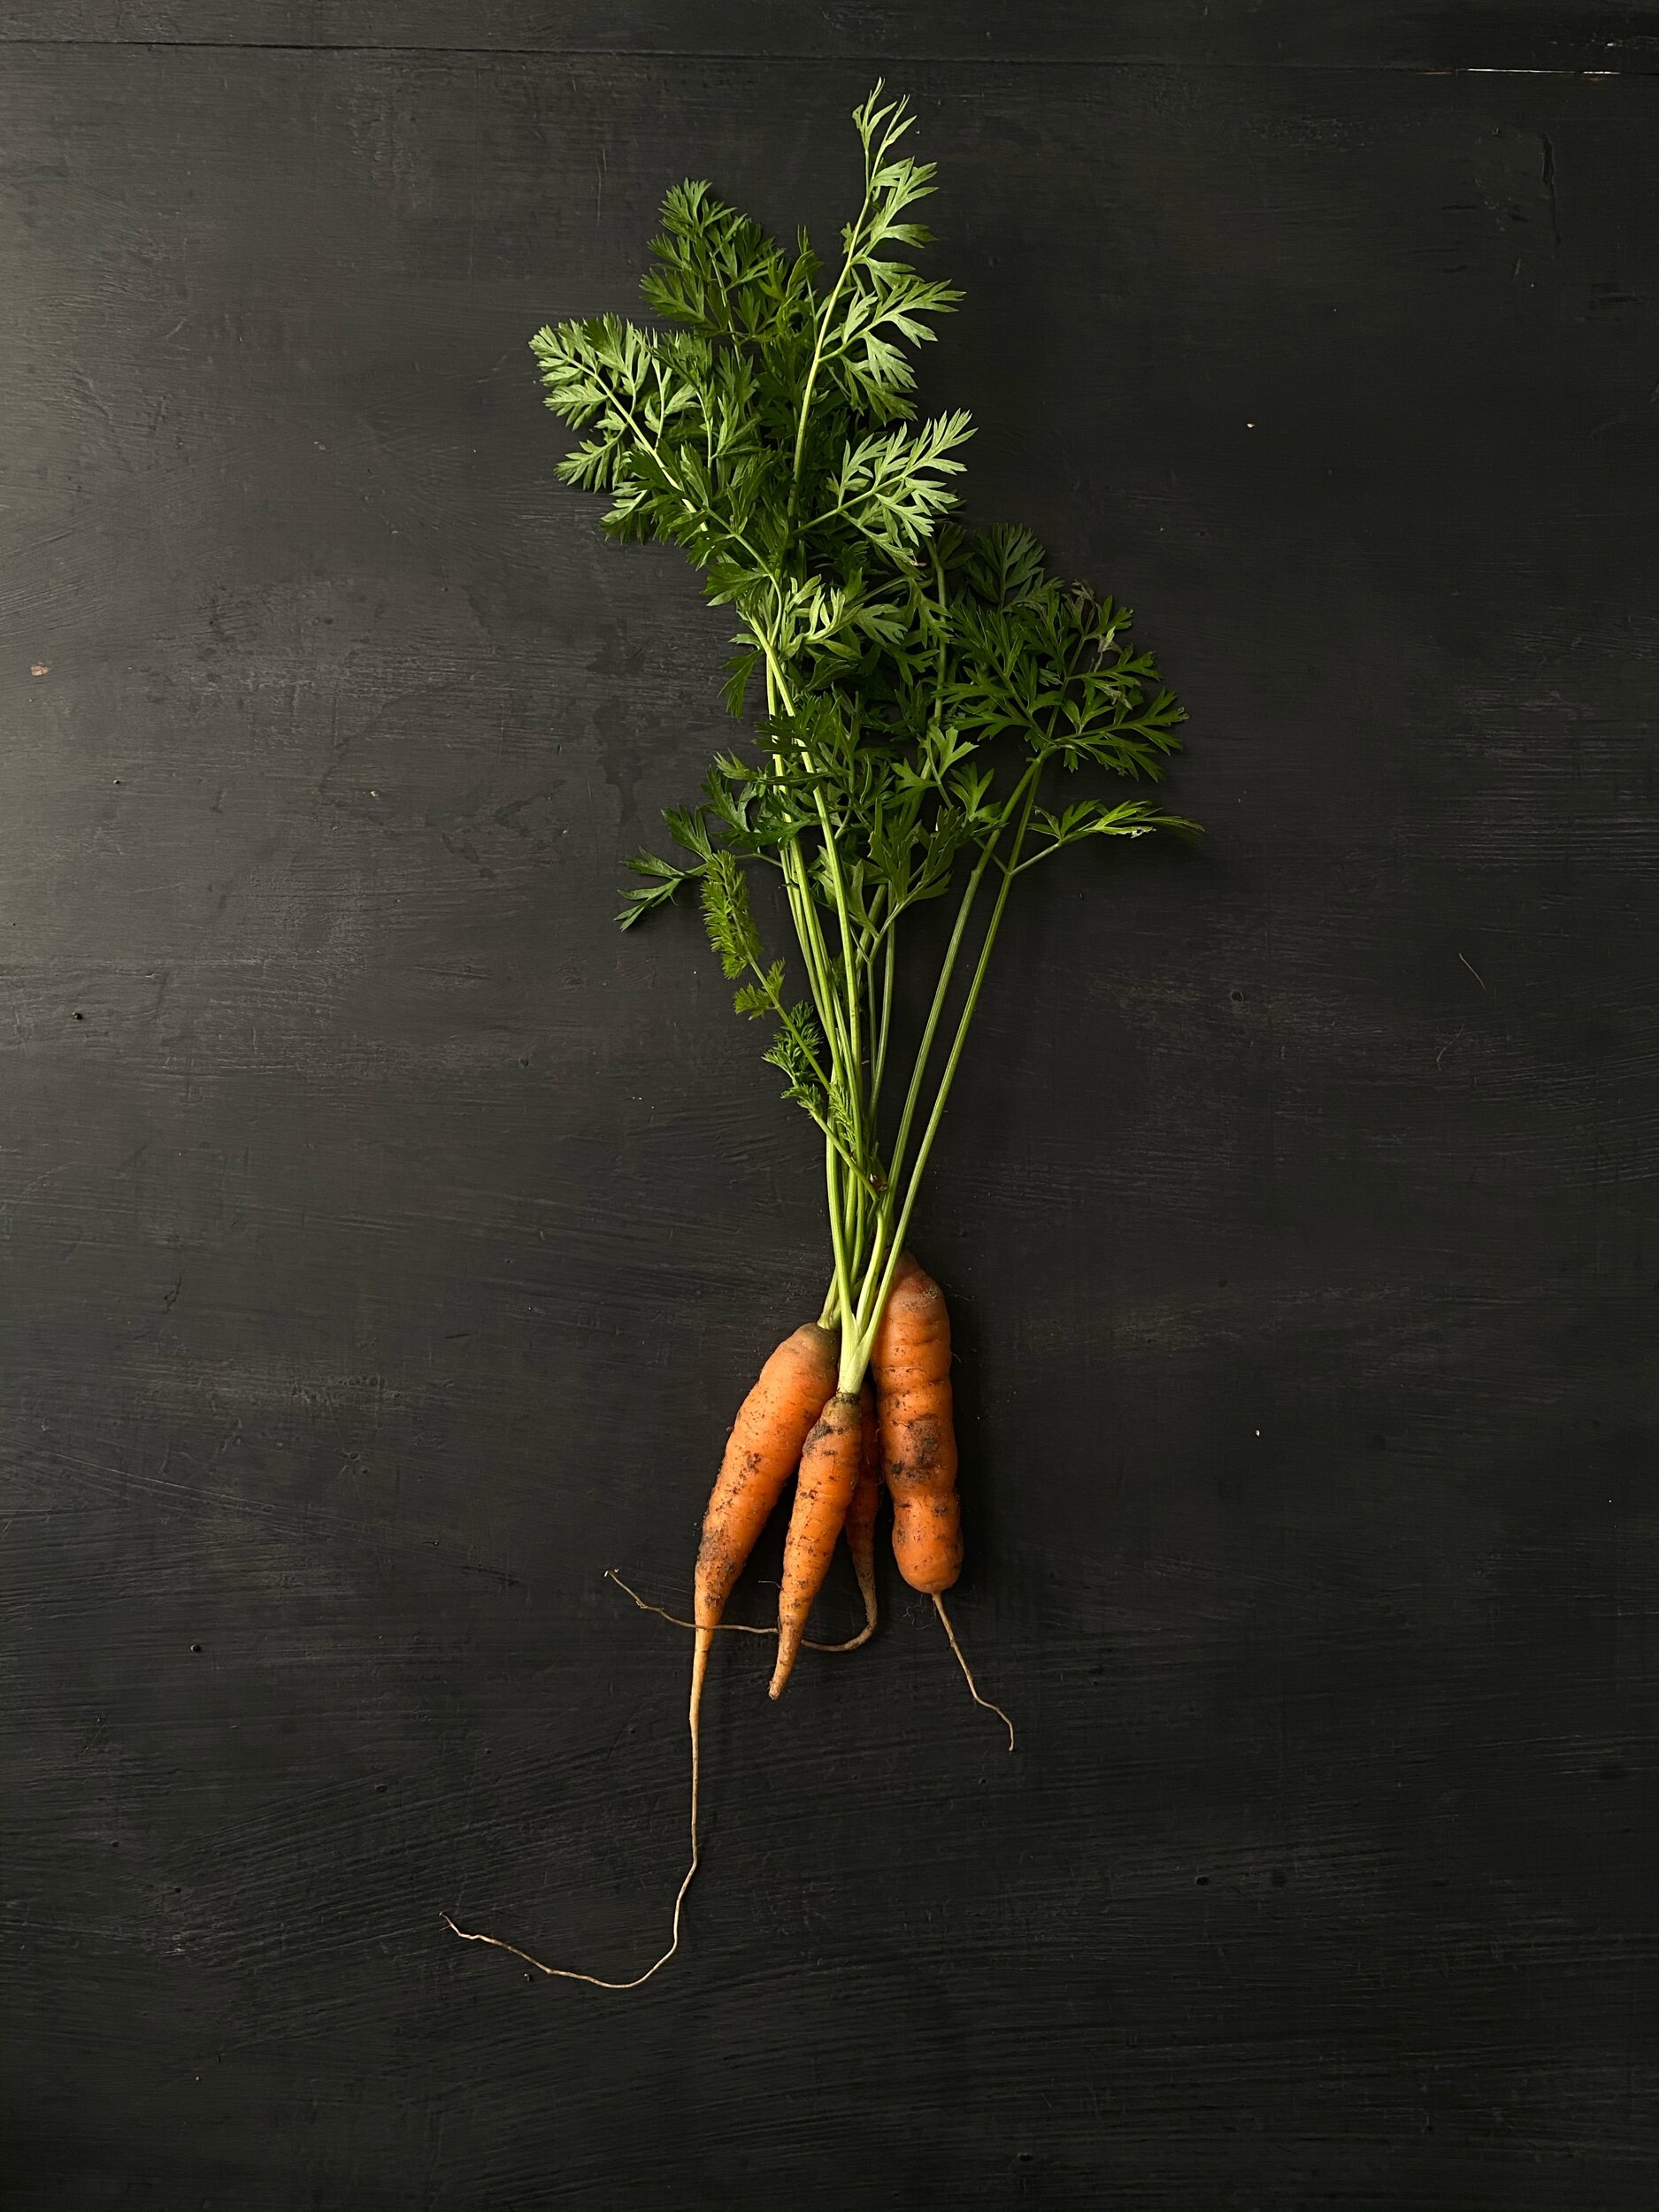
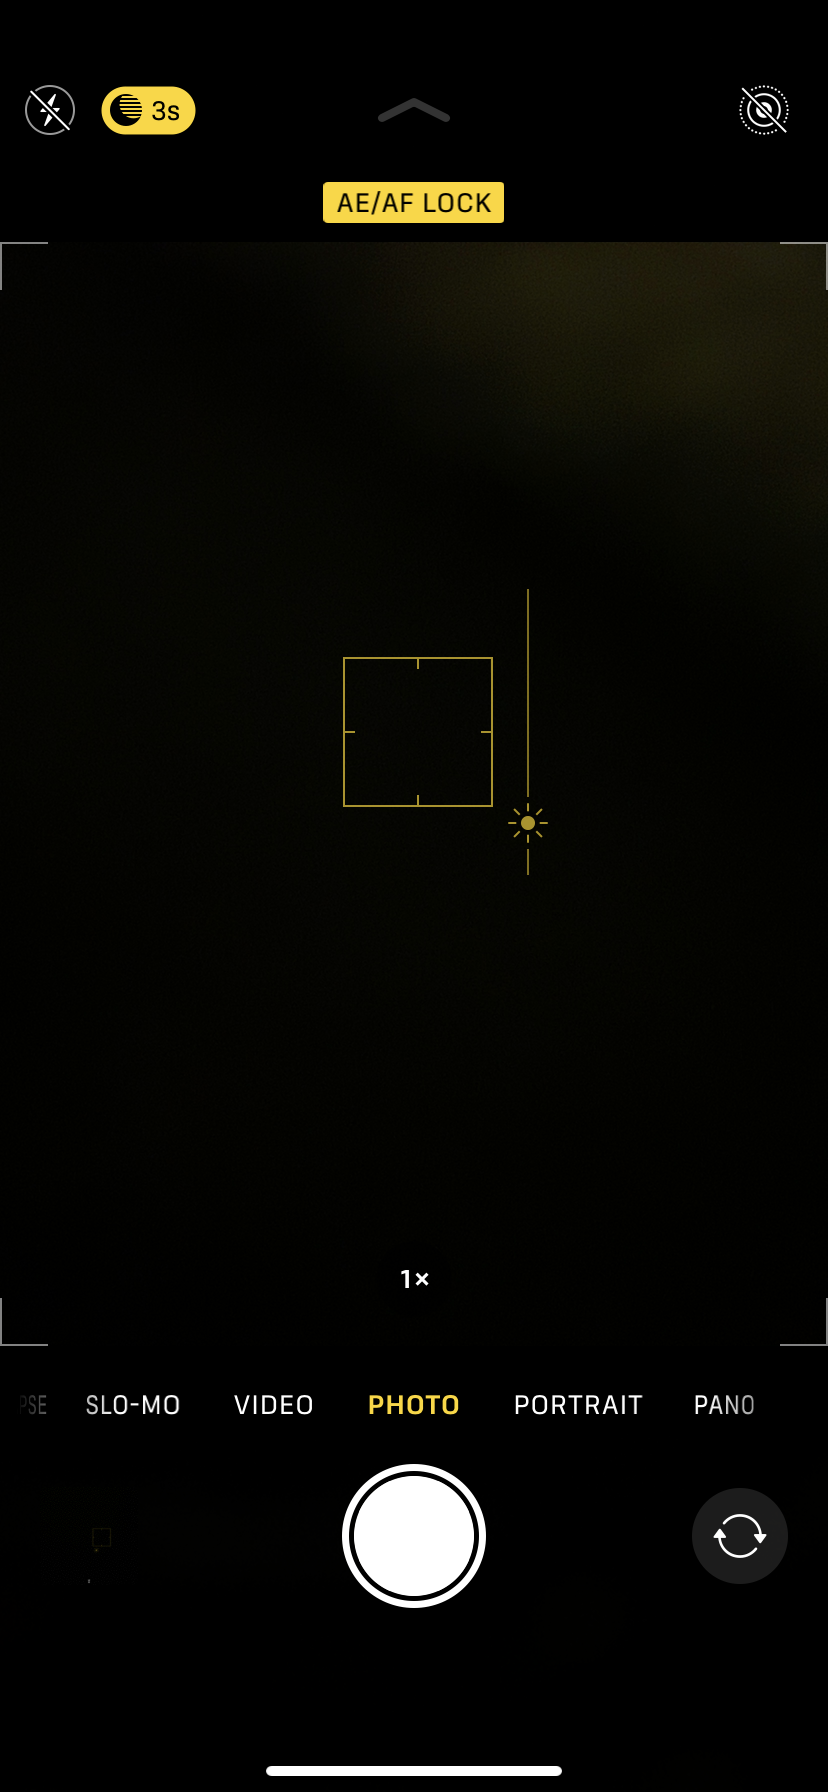
The Lighter carrot shot shows what the iPhone would do based on it’s automatic settings. The darker shot of the carrot is an edit I suggest you make while taking the image instead of with the filter. How do you do that, you ask? Do you see the black image of an iPhone screen with the yellow box in the center? By clicking on your subject and holding until that AF lock box pops up you’ll be able to then manually adjust the exposure. See that little sunshine symbol? Drag it up for a brighter exposure and down for a darker exposure. The closer you get your original image to the look and feel you want the easier it will be to make some edits in Instagram or another editing software of your choice to make it perfect. Don’t settle for a shot that you know is starting off too late or too dark and try and fix it with editing. You’ll get a much less grainy and clearer image if you get the exposure close to begin with.
Want to learn more tips? Here’s a link to sign up for details on my #smallbusiness DIY photo branding guide. Those who sign up early to be on the mailing list will get a special discount code.
Looks yummy, right? It is! Want the recipe? This pie is made with love and hand-picked apples from @russellorchards. I used a #glutenfree crust from @mainepieco. You can use your favorite apple pie recipe for the filling and just swap the regular flour for @kingarthurbaking gluten free measure for measure flour to make it #GF. (This is especially good if you want to make a treat for someone with celiac as the cross contamination risk is much lower using a premade crust in a throwaway pie tin.) The topping is 2 tablespoons melted coconut oil from @wholefoods, 1 cup @bobsredmill Gluten-free oats, and 2 tablespoons @sugarintheraw. While I’m doing shout outs, the tea in the background is @harneyteas pumpkin spice because I’m #sobasic. I love their pumpkin spice tea because it’s caffeine free and therefore I can drink it 24/7.
Featured companies, please email or comment to ask before reposting or if you’d prefer to not be tagged. There are many cases where I allow reposts with a small request. I love being able to tag and help promote you. Please respect my artwork and livelihood. #freelanceisntfree


